Deploy Smart Contracts to Ropsten
Ropsten is an Ethereum test network that allows for blockchain development testing before deployment on Mainnet, the main Ethereum network, which is not free for use. Ropsten is free for use in the sense that you can get free ether from the Ropsten faucet.
Dependencies
You must have Metamask Extension installed.
Step 1 - Get Fake Ethers for Your Account
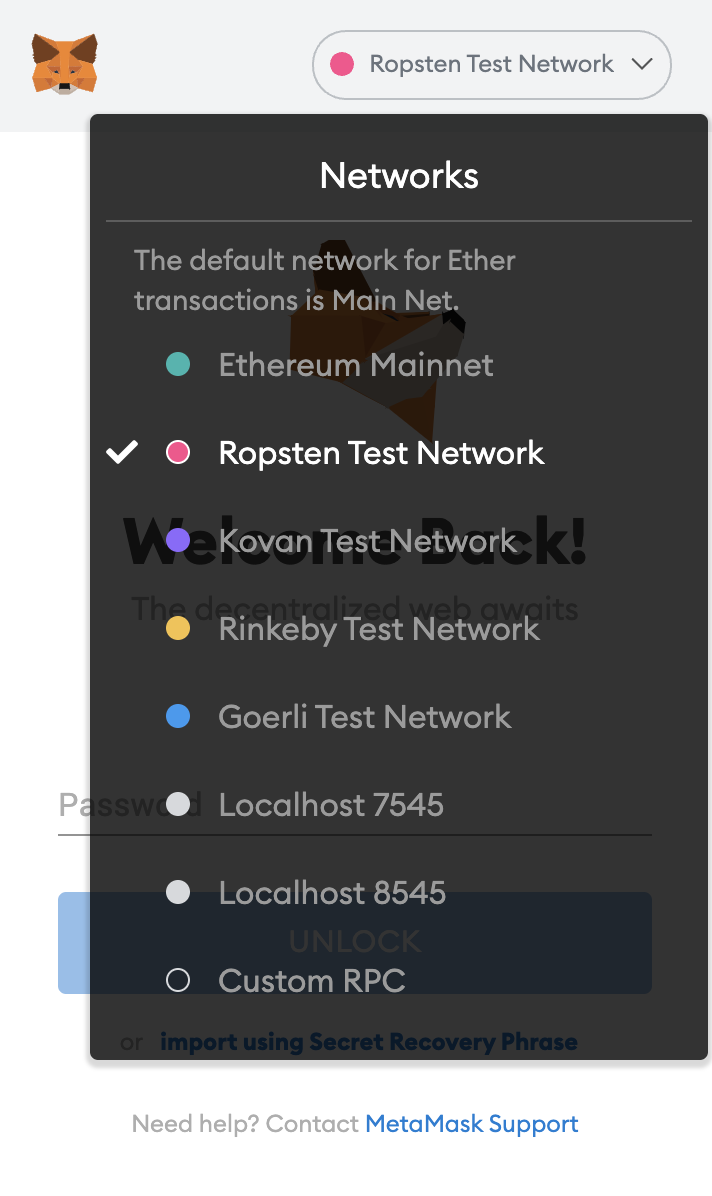
Select Ropsten network in you MetaMask plugin.
Navigate to Ropsten Ethereum Faucet and enter your metamask first account address there to have free ethers transferred to your account.
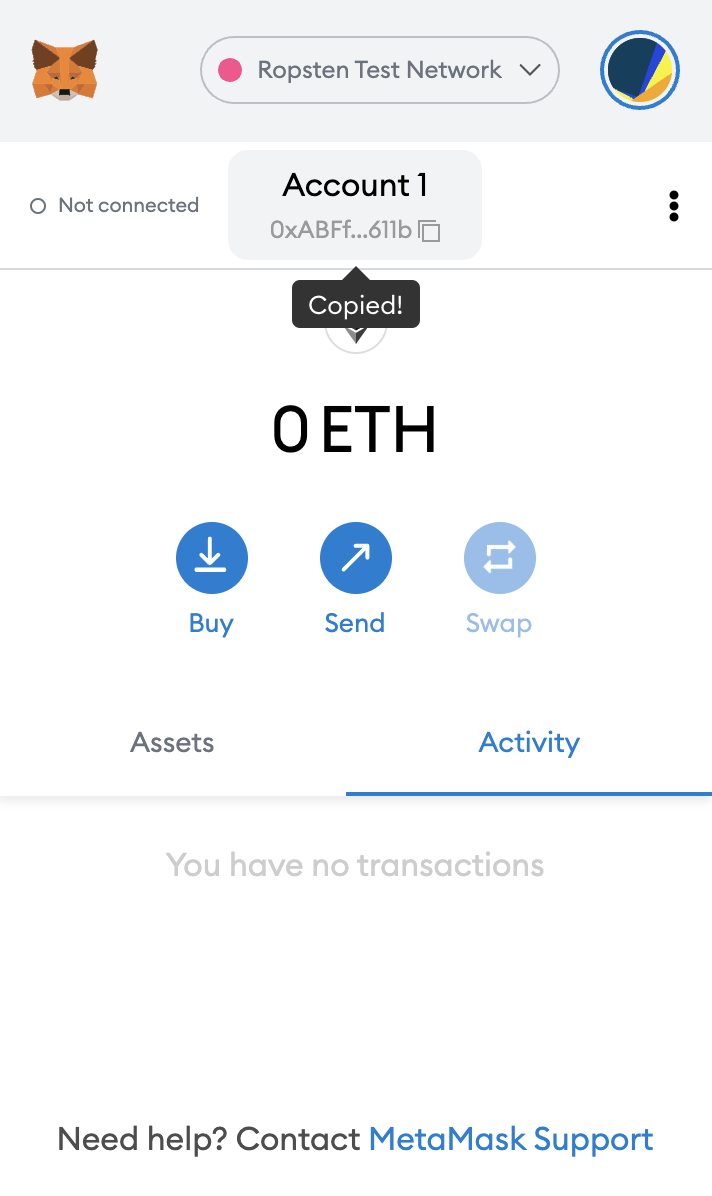
You can copy your account address from MetaMask like this:

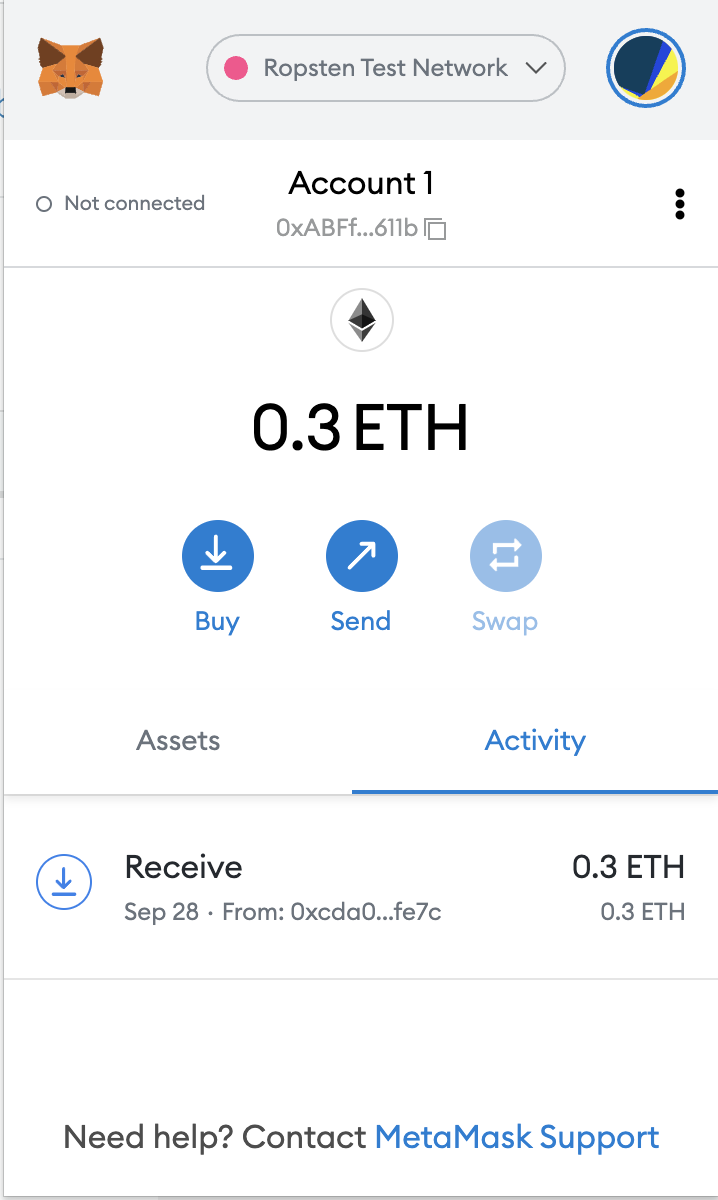
After a few minutes, you’ll see ethers reflected in your account.
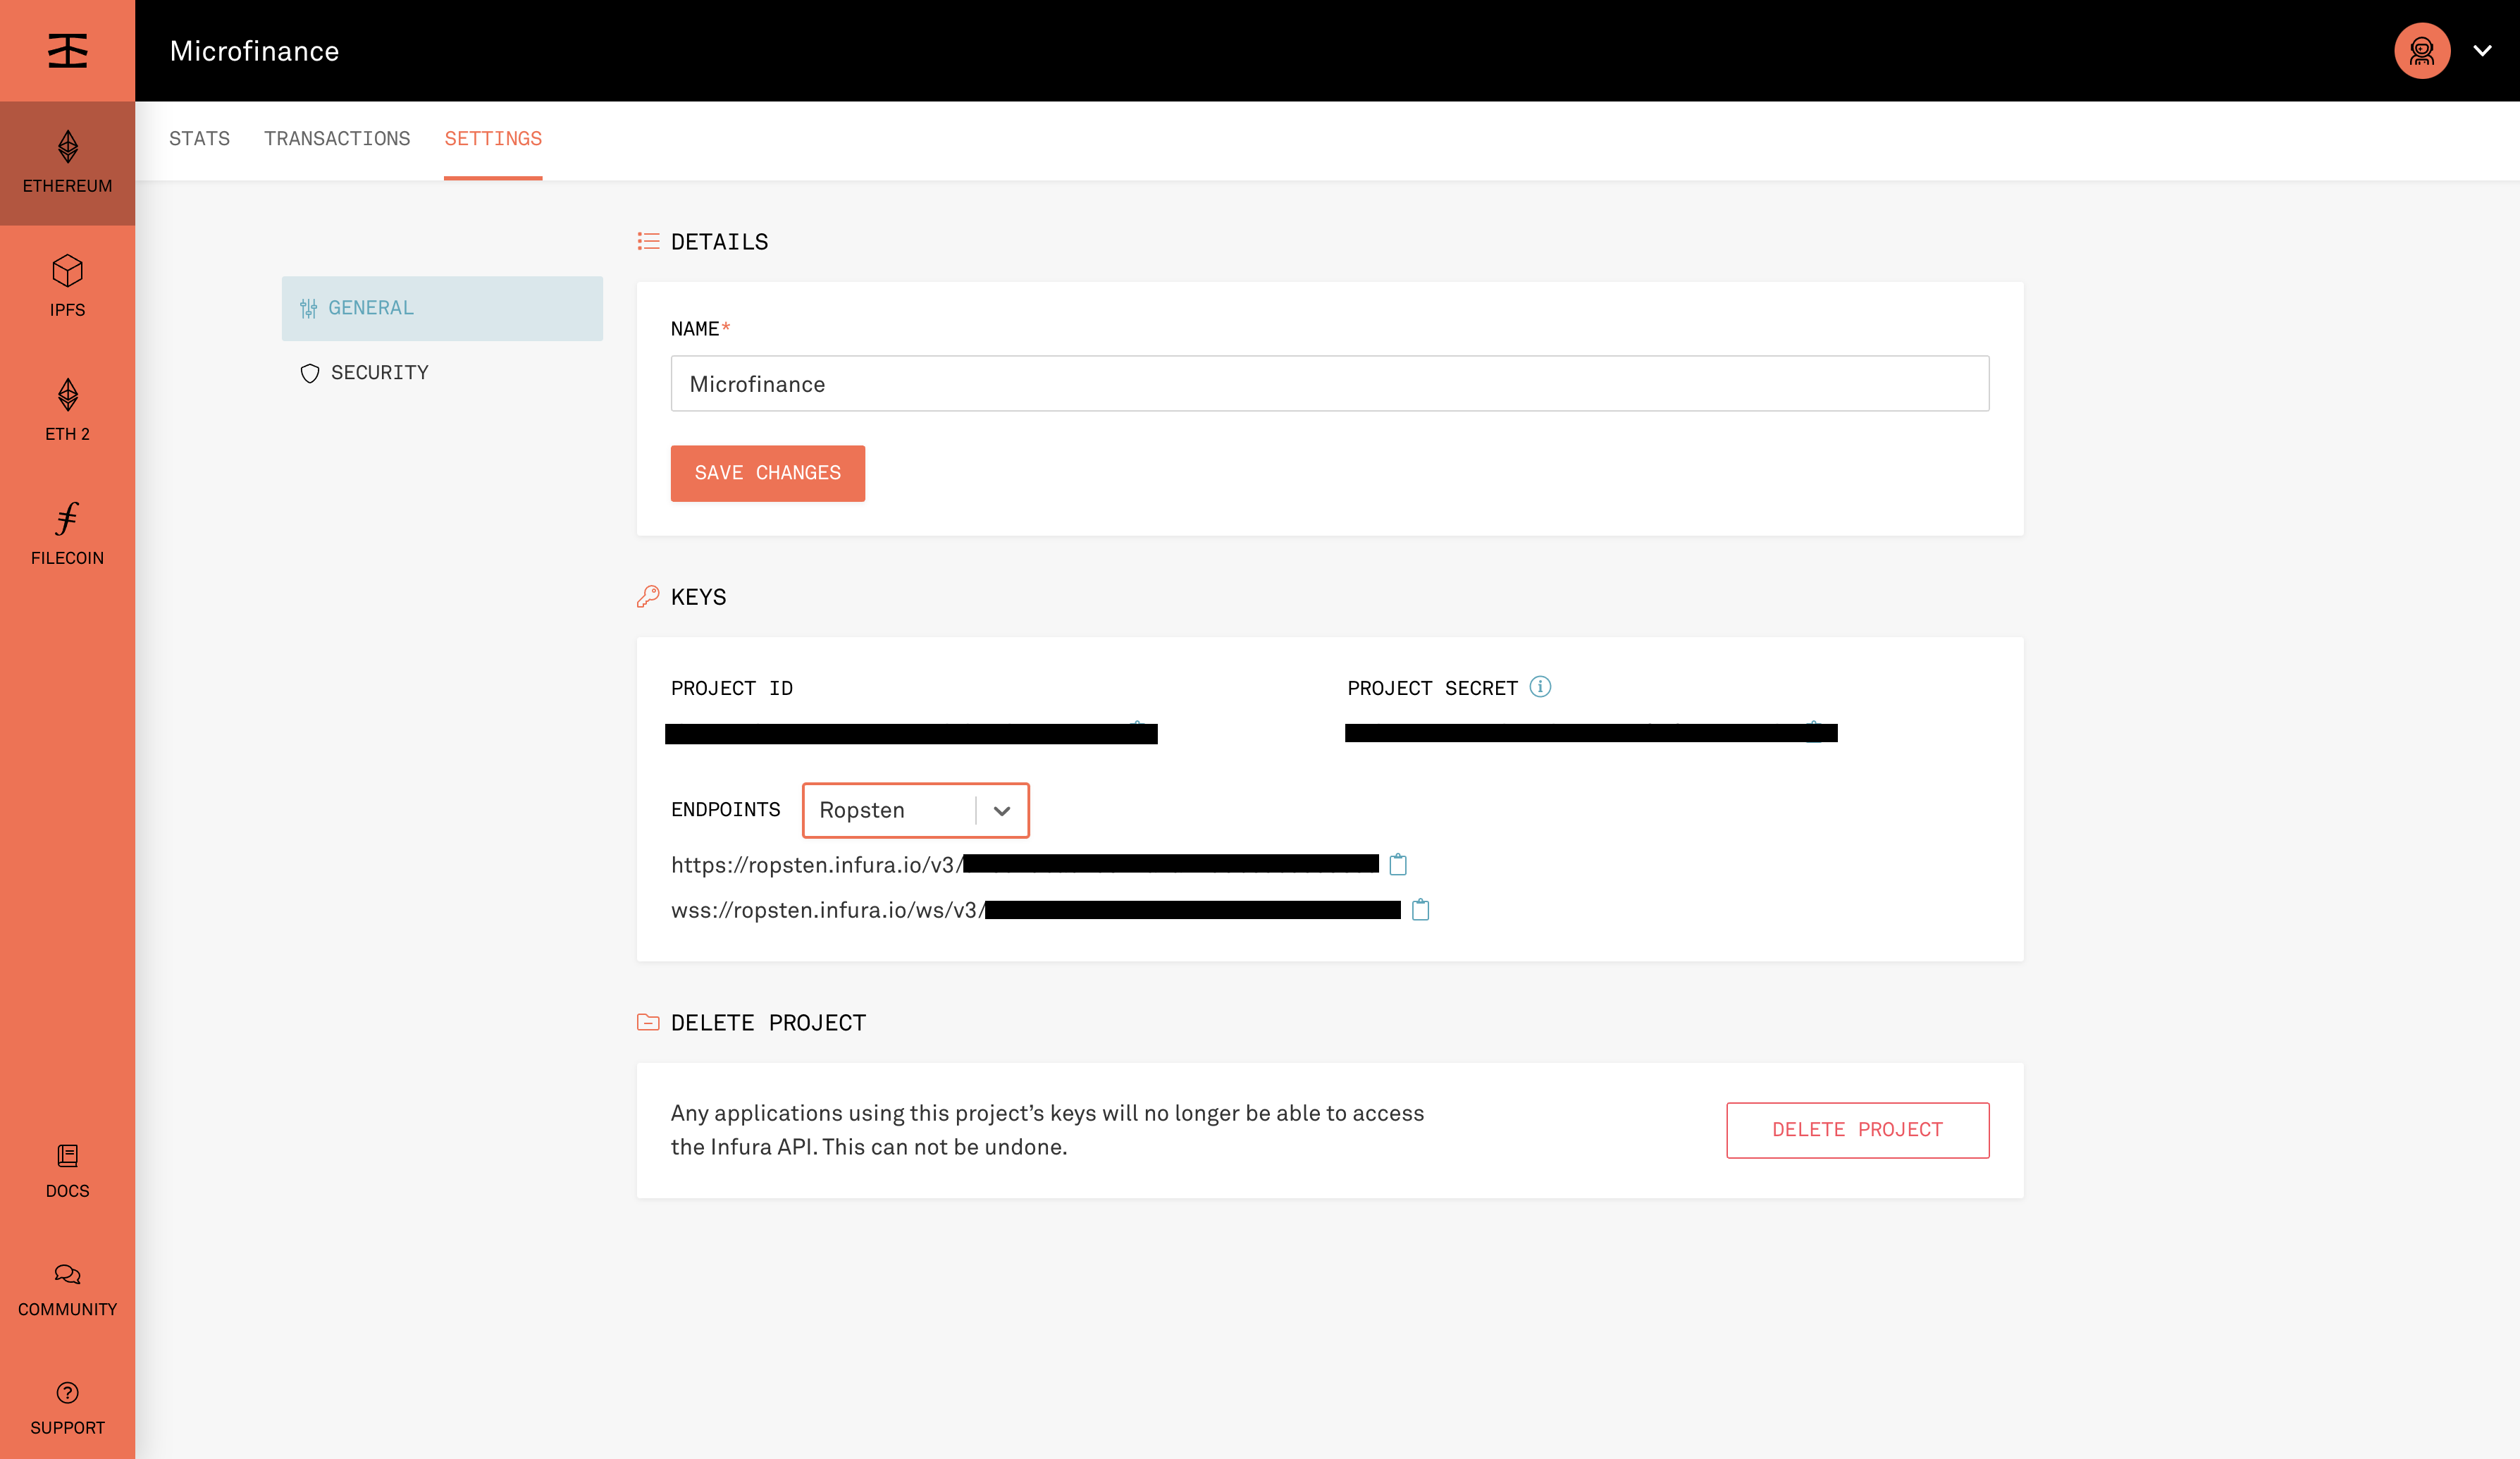
Step 2 - Create Infura Project
The Infura platform offers API services to quickly connect to Ethereum and other networks such as IPFS, Arbitrum, Polygon, and Optimism, making it easier for Web3 developers to build applications.
Sign in to Infura.
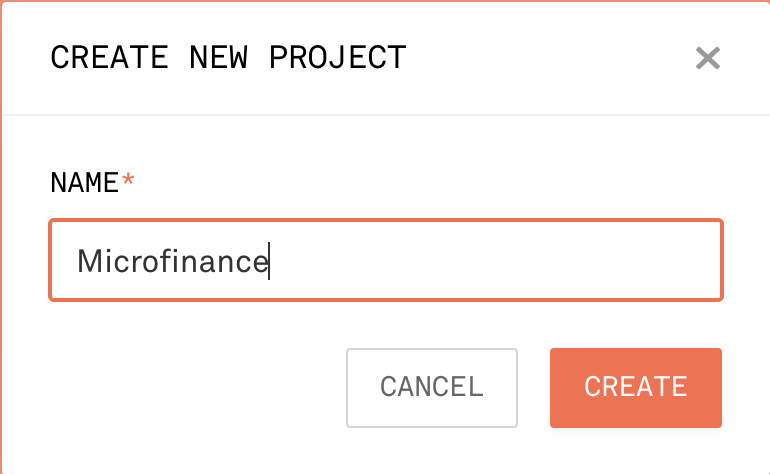
2. Navigate to Ethereum from the left panel -> CREATE NEW PEOJECT. Insert a name for the project.
Select “Ropsten” as the Endpoint under the Keys section. Copy the
PROJECT ID
Create a secret file.
Note that the first line loads the project id and mnemonic from a secrets.json file,
which should look like the following, but having your own values. Make sure to add this to the .gitignore file.
{
    "mnemonic": "planet auto sign choice ...",
    "projectId": "305c137050..."
}
TIP: Instead of a secrets.json file, you can use whatever secret management solution you like for your project.
A popular and simple option is to use dotenv for injecting secrets as environment variables.
We can now test that this configuration is working by listing the accounts we have available for the Ropsten network. Remember that yours will be different, as they depend on the mnemonic you use.
$ truffle console --network ropsten
truffle(ropsten)> await web3.eth.getAccounts()
[
'0xABFf604B340Da8612F07b0d76ef54b2d2A8B611b',
'0x3e4Cdd143b1C8FFb129Bb81f81B2B8835Ea03Cff',
...
]
truffle(ropsten)> await web3.eth.getBalance('0xABFf604B340Da8612F07b0d76ef54b2d2A8B611b')
'300000000000000000'
Step 3 - Truffle Configurations
Since we are using public nodes, we need to sign all our transactions locally.
We use @truffle/hdwallet-provider to do this, setting it up with our mnemonic.
We will also tell the provider how to connect to the test network by using the Infura endpoint.
Let’s start by installing the provider:
install --save-dev @truffle/hdwallet-provider
truffle-config.js:
const { projectId, mnemonic } = require('./secrets.json');
const HDWalletProvider = require('@truffle/hdwallet-provider');

module.exports = {

networks: {
    development: {
        host: "127.0.0.1",     // Localhost (default: none)
        port: 8545,            // Standard Ethereum port (default: none)
        network_id: "*",       // Any network (default: none)
    },
    // Useful for deploying to a public network.
    // NB: It's important to wrap the provider as a function.
    ropsten: {
        provider: function() {
        return new HDWalletProvider(mnemonic, `https://ropsten.infura.io/v3/${projectId}`)
        },
        network_id: 3,
        gas: 4000000         // Any network (default: none)
    },
};
Step 4 - Deploy Smart Contracts to Ropsten Network
With the project configured to work on a public testnet, we can now finally deploy our contracts. The command here, other than specifying the network, is the same as if you were on your local development network, though it will take a few seconds to run as new blocks are mined.
truffle migrate --reset --network ropsten
Step 5 - Check Availability
That’s it! Our contract instances are now in the testnet, publicly accessible to anyone.
You can see your contract on a block explorer such as Etherscan. Remember to access the explorer on the testnet where you deployed your contract, such as ropsten.etherscan.io for Ropsten.
TIP: You can check out the contract that we’ve deployed in the example above, along with all transactions sent to it, here.
You can also interact with your instance as you regularly would, either using the Truffle console, or programmatically using web3.
$ truffle console --network ropsten
truffle(ropsten)> micro = await MicroToken.deployed()
truffle(ropsten)> (await micro.totalSupply()).toString()
Step 6 - Refer to Smart Contracts Addresses in Ropsten Network
This deployment information is recorded in the build files in the build\contracts\ directory
Ex: MicroToken.json
"networks": {
    "3": {
    "events": {},
    "links": {},
    "address": "0x17c591C75978E90786E581c683Bf596D94199db7",
    "transactionHash": "0x082fd2bce39eb95178ab78588252c71a2d3d01eba4840264aa556b18ea275f3e"
    },
    "5777": {
    "events": {},
    "links": {},
    "address": "0xe0F3B6602962630d182EC424FbfBAd24119988da",
    "transactionHash": "0x3f3d7ca9cf5be97e2899118d48e7c0e299ea5e5ea8800d8298a43f4b1b7c7114"
    }
},
All React web applications are configured to 5777 in the local blockchain.
Now we are going to change the network to Ropsten and refer to the smart contract addresses in the Ropsten network.
Open bank-web-app/stores/smartContractContext.js. Navigate to Smart Contract Addresses.
Change the 5777 value to 3.
// Smart Contract Addresses
const microTokenAddress = MicroTokenArtifact.networks[3].address;
const userIdentityAddress = UserIdentityArtifact.networks[3].address;
const bankLoanAddress = BankLoanArtifact.networks[3].address;
This will allow us to refer to the smart contract adderesses in the Ropsten network in bank-web-app.
You may need more fake ethers to other accounts (Wallet accounts for Broker and Borrower users) in MetaMask to use the system.