Save Data to Smart Contract
We discuss how to save data in the blockchain via a smart contract. As an example, we show how to save a loan request in the blockchain.
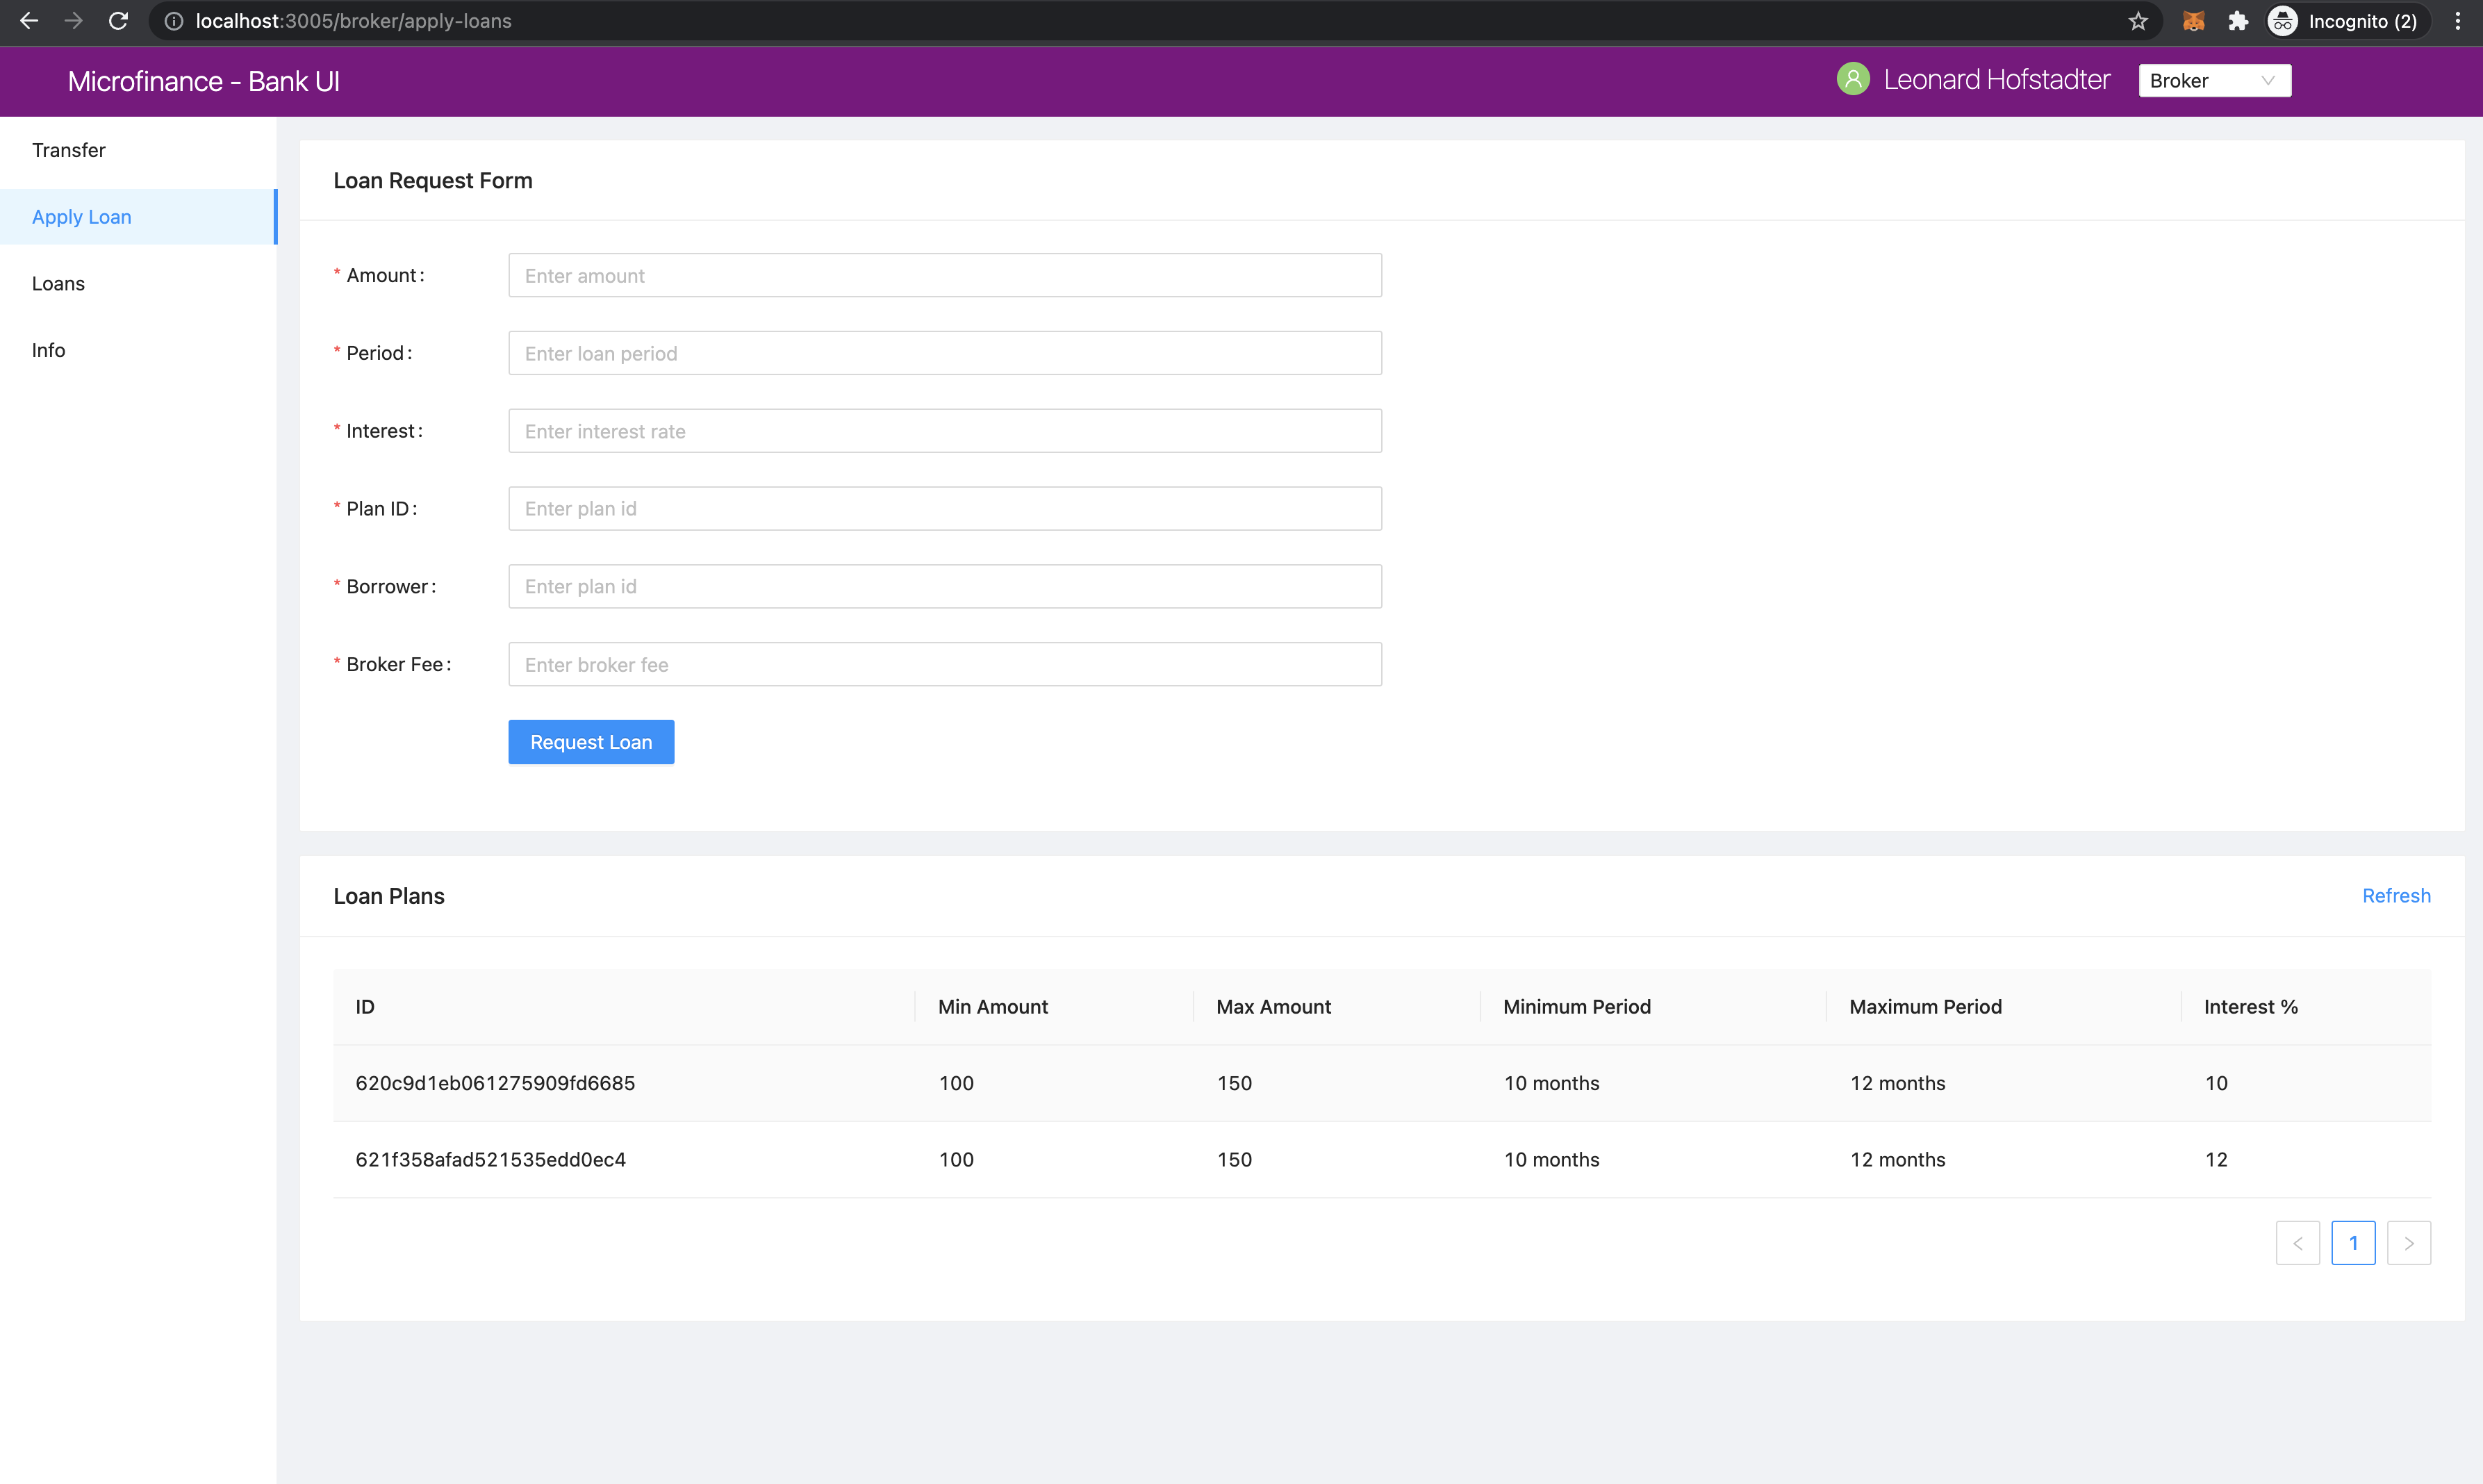
As shown in the screenshot above, the Apply Loan menu item is chosen.
This means the Broker is requesting a new Loan.
When Broker clicks the Apply Loan menu item, browser route is updated to localhost:3005/broker/apply-loans.
UI loads, React component for the apply-loans page reside in the /pages/broker/apply-loans javascript file.
The code of the apply-loans page is shown here:
import React from 'react';
import { Row, Col } from 'antd';
import LoanForm from '../../components/loan/LoanForm';
import PlansTable from '../../components/plan/PlansTable';

function Loans() {
    return (
        <>
            <Row gutter={[16, 16]}>
                <Col span={24}>
                    <LoanForm />
                </Col>
                <Col span={24}>
                    <PlansTable />
                </Col>
            </Row>
        </>
    );
}

export default Loans;
As shown, the Loans component loads the LoanForm component from /components/loan/LoanForm.js and PlansTable from /components/plan/PlansTable.
Let’s look at the LoanForm component:
import React, { useContext } from 'react';
import { Card, Form, InputNumber, Input, Button, message } from ‘antd’; import SmartContractContext from ‘../../stores/smartContractContext’;
- function LoanForm() {
const { BankLoanContract } = useContext(SmartContractContext);
- const createLoanRequest = async (values) => {
- try {
const accounts = await window.ethereum.request({ method: ‘eth_requestAccounts’ });
- await BankLoanContract.methods.applyLoan(
values.amount, values.period, values.interest, values.planId, values.borrower, values.brokerFee,
).send({ from: accounts[0] }); message.success(‘New loan requested successfully’);
- } catch (err) {
console.log(err); message.error(‘Error creating loan request’);
}
};
- return (
- <Card title=”Loan Request Form”>
- <Form
onFinish={createLoanRequest}
- >
- <Form.Item label=”Amount” name=”amount” rules={[{ required: true, message: ‘Please enter amount!’ }]}>
<InputNumber …. />
</Form.Item> <Form.Item label=”Period” name=”period” rules={[{ required: true, message: ‘Please enter period!’ }]}>
<InputNumber …. />
</Form.Item> <Form.Item label=”Interest” name=”interest” rules={[{ required: true, message: ‘Please enter interest!’ }]}>
<InputNumber …. />
</Form.Item> <Form.Item label=”Plan ID” name=”planId” rules={[{ required: true, message: ‘Please enter plan id!’ }]}>
<Input …. />
</Form.Item> <Form.Item label=”Borrower” name=”borrower” rules={[{ required: true, message: ‘Please enter borrower!’ }]}>
<Input …. />
</Form.Item> <Form.Item label=”Broker Fee” name=”brokerFee” rules={[{ required: true, message: ‘Please enter Broker Fee!’ }]}>
<InputNumber …. />
</Form.Item> <Form.Item …. >
<Button type=”primary” htmlType=”submit”>Request Loan</Button>
</Form.Item>
</Form>
</Card>
);
}
export default LoanForm;
First, it imports React, useState and useContext.
Then imports the neccessary Ant Design components to build the Loan Form UI.
Finally, it imports SmartContractContext defined in the Smart Contract Context section as follows:
import React, { useState, useContext } from 'react';
import { Card, Form, InputNumber, Input, Button, message } from 'antd';
import SmartContractContext from '../../stores/smartContractContext';
It accesses the BankLoan smart contract object from the SmartContractContext.
const { BankLoanContract } = useContext(SmartContractContext);
The LoanForm component returns a Ant Design Form component.
Here, it submits input field values to the createLoanRequest function,
which is passed to the onFinish function of the Form.
<Form
    ...
    onFinish={createLoanRequest}
>
In form items we define the input fields to collect the data we need to create a loan request.
When submit the form it will passe the form field values as a object to the createLoanRequest function.
In createLoanRequest function we refer this object as values and we can access the input values
by its name.
<Form.Item label="Amount" name="amount" rules={[{ required: true, message: 'Please enter amount!' }]}>
  <InputNumber .... />
</Form.Item>
<Form.Item label="Period" name="period" rules={[{ required: true, message: 'Please enter period!' }]}>
  <InputNumber .... />
</Form.Item>
<Form.Item label="Interest" name="interest" rules={[{ required: true, message: 'Please enter interest!' }]}>
  <InputNumber .... />
</Form.Item>
<Form.Item label="Plan ID" name="planId" rules={[{ required: true, message: 'Please enter plan id!' }]}>
  <Input .... />
</Form.Item>
<Form.Item label="Borrower" name="borrower" rules={[{ required: true, message: 'Please enter borrower!' }]}>
  <Input .... />
</Form.Item>
<Form.Item label="Broker Fee" name="brokerFee" rules={[{ required: true, message: 'Please enter Broker Fee!' }]}>
  <InputNumber .... />
</Form.Item>
<Form.Item .... >
  <Button type="primary" htmlType="submit">Request Loan</Button>
</Form.Item>
When user click the submit button it will pass input values to the createLoanRequest function.
This uses Async/await functionality to save data in to the blockchain.
In createLoanRequest function first it gets account address from the MetaMask.
Then it will pass values to the applyLoan function of the BankLoan smart contract.
When we save data into the blockchain it will change the blockchain state.
For save methods we use send method to execute the operation in theblockchain.
For the send method we pass the function caller’s address as a parameter ( send({from: accounts[0]})).
When successfully create a Loan Request in the blockchain it will show the success message. If error occured while saving data in to the blockchain it may execute the catch block and shows the error message.
const createLoanRequest = async (values) => {
    try {
        const accounts = await window.ethereum.request({ method: 'eth_requestAccounts' });

        await BankLoan.methods.applyLoan(
            values.amount,
            values.period,
            values.interest,
            values.planId,
            values.borrower,
        ).send({ from: accounts[0] });
        message.success('New loan requested successfully');
    } catch (err) {
        message.error('Error creating loan request');
    }
};